
Post by LilNewbie on Mar 17, 2010 17:21:15 GMT 1
The call for assistance at the old warhouse district woke up Lt. West. He put out a call to his squad to get to the station while he tried to shake off the effects of being woken up from a deep sleep. He dressed quickly and beat the rest of his squad to the station by only minutes but it was enough time for him to already be in full combat gear and waiting near the transport. "Let's go! Let's go!" "Mitchell, we are waiting for you again!! MOVE IT!!"
Once the transport had left the station, he started the briefing. "Reports have a 7 to 8 man, heavily armed gang moving through the area of the warehouse district that is being rennovated. We are not sure of their motives but word on the street is that they are trying to discourage anyone else from moving into their self-proclaimed turf. We've been attempting to track down weapons that were recently sold by some black market dealers and it looks like we have found out were they ended up. These perps are considered armed and dangerous. We will be using strike plan gamma. Lock and load, people! Time to put some of that expensive training to good use!"
SWLion and I played a 500 point game of FL using a SWAT team versus heavily armed Gangers. This was our first serious game of FL so we probably missed a few rules and we realized that the game does play a lot different than SBH (rules are similar but tactics are a lot different).
The board was setup prior to the game and we rolled off to see which side we were going to play. I won and decided to use the Perps.
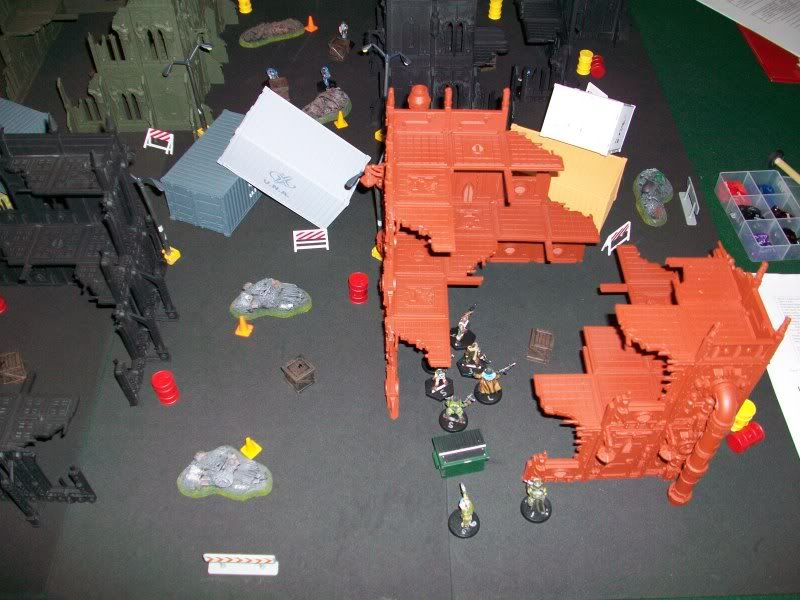
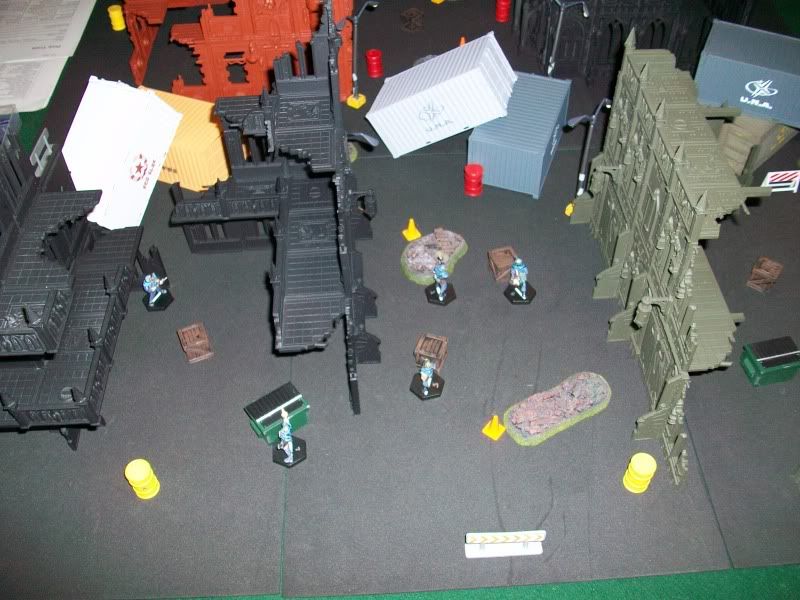
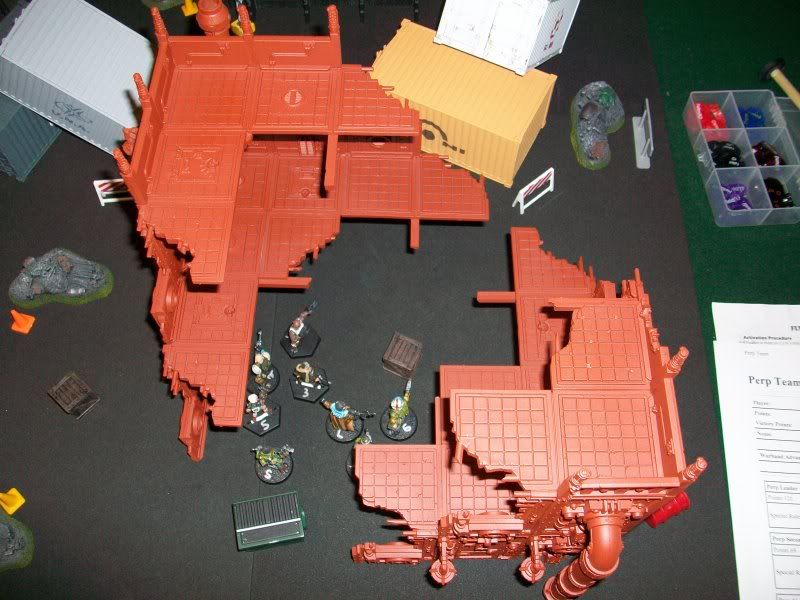
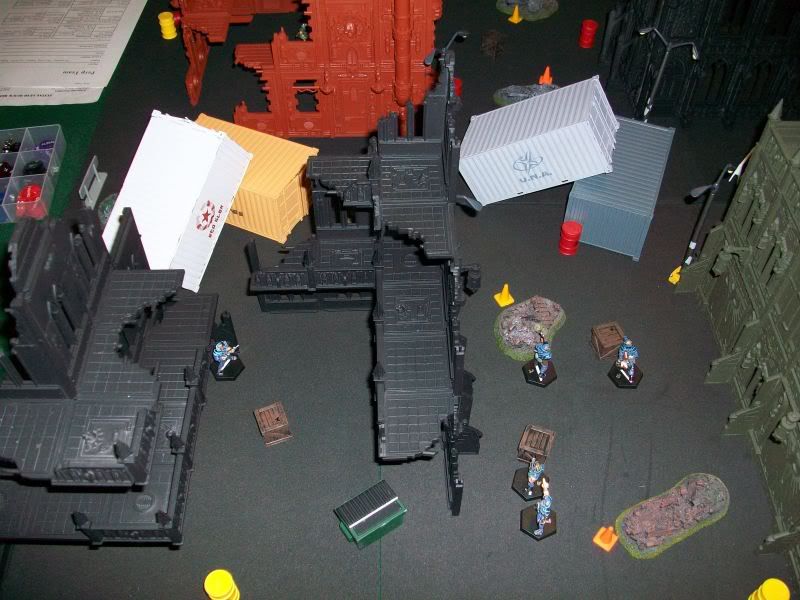
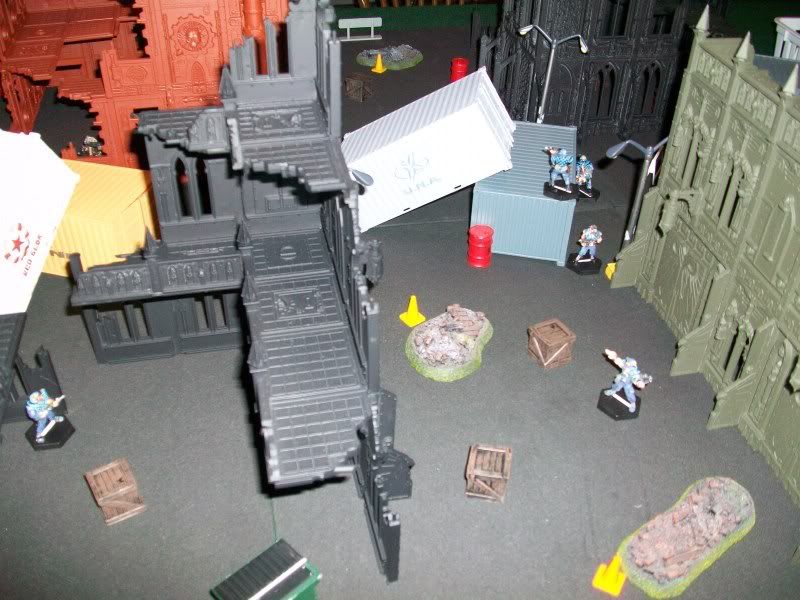
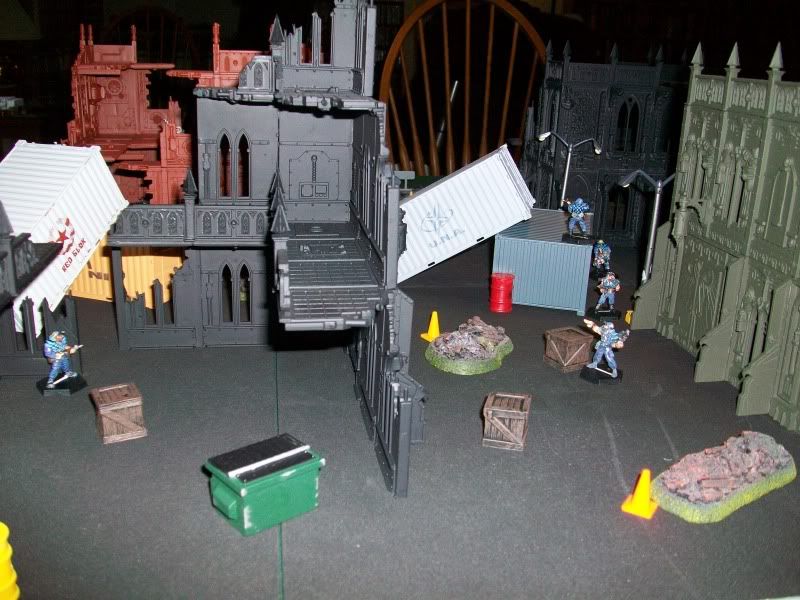
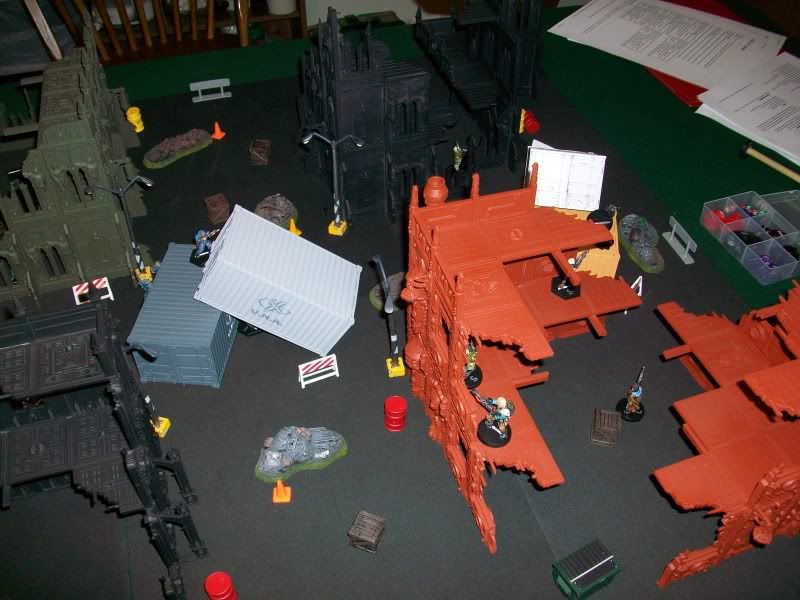
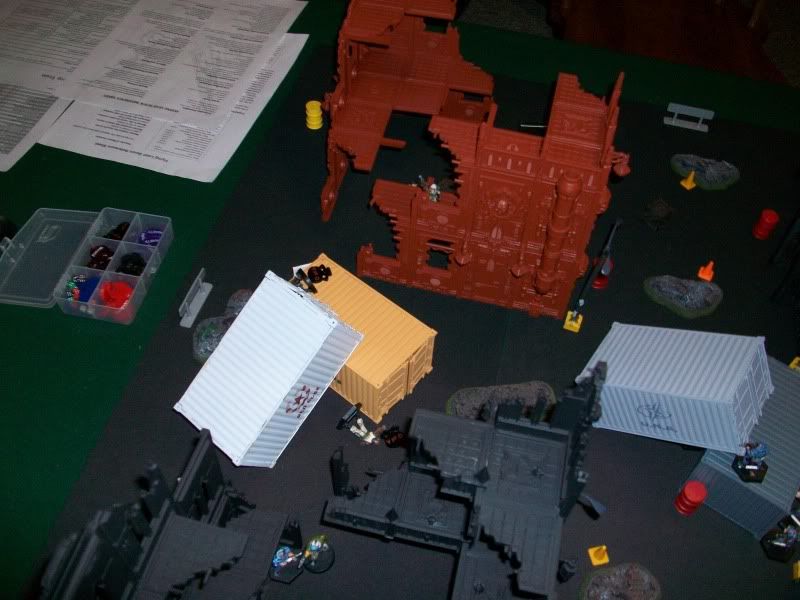
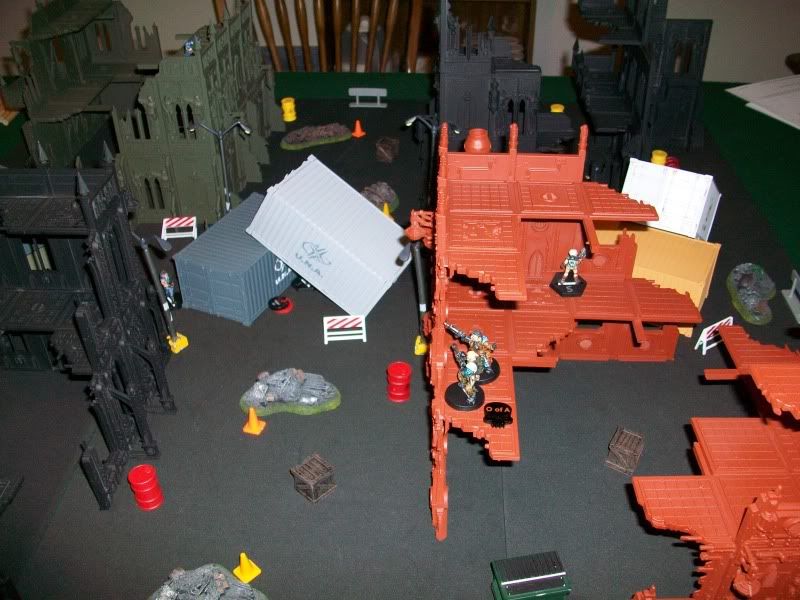
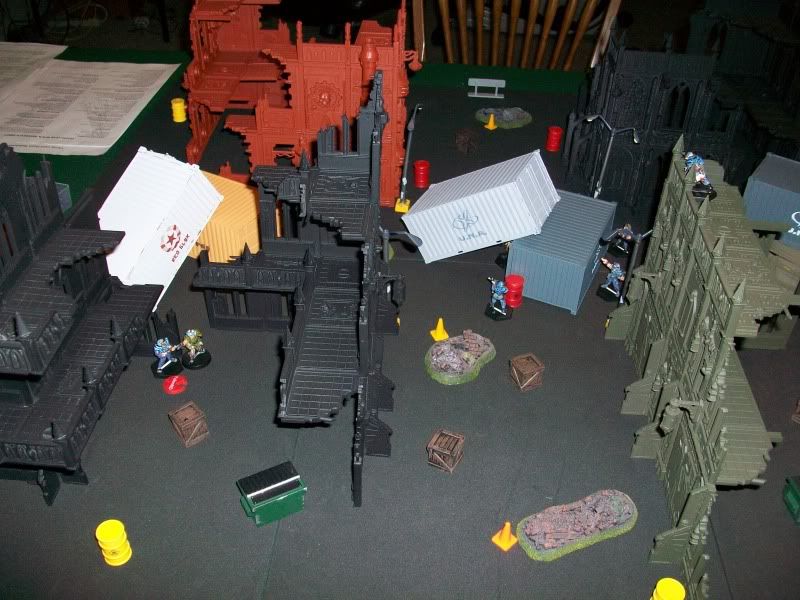
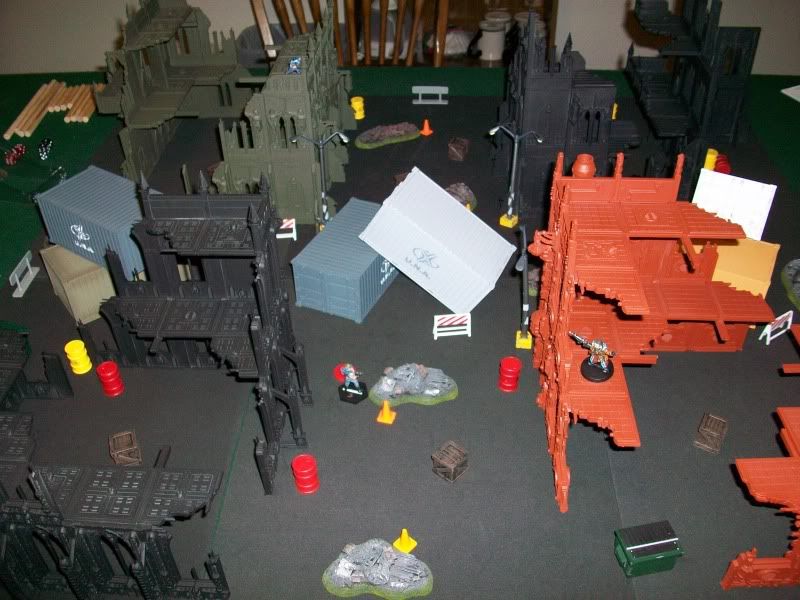
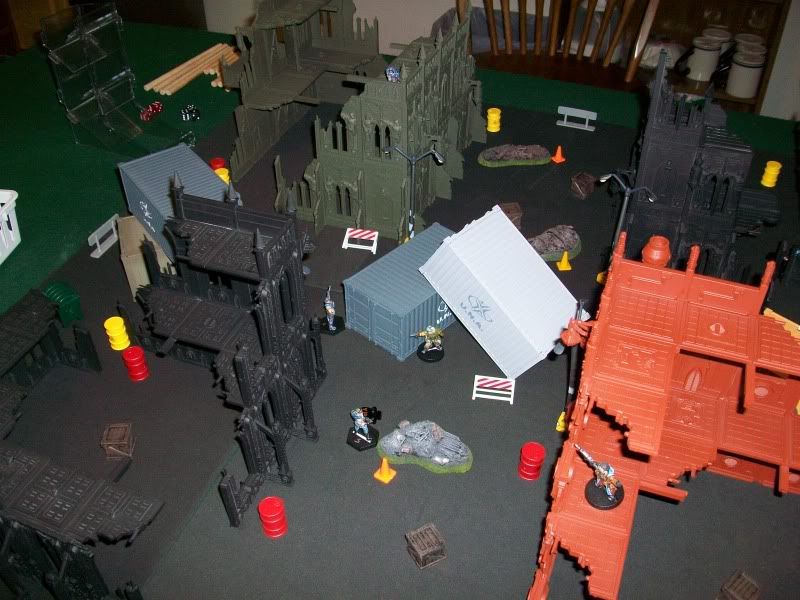
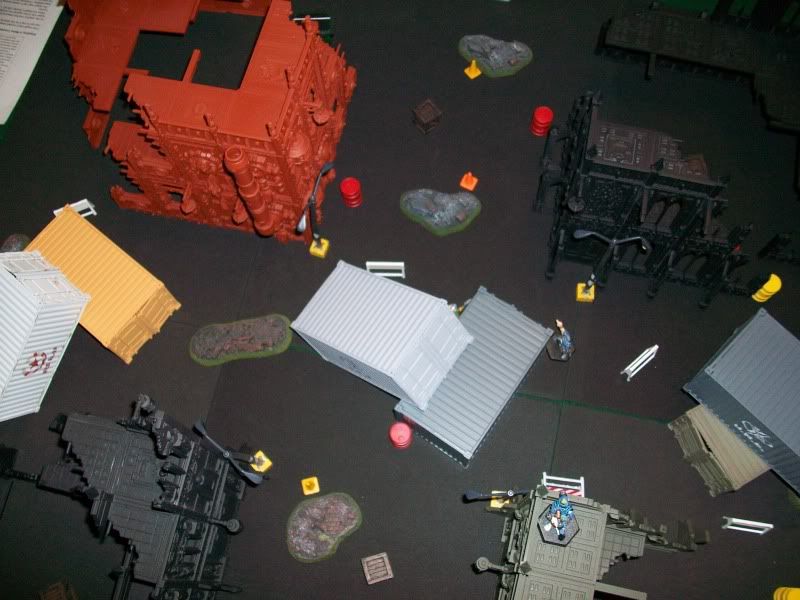
Board setup:
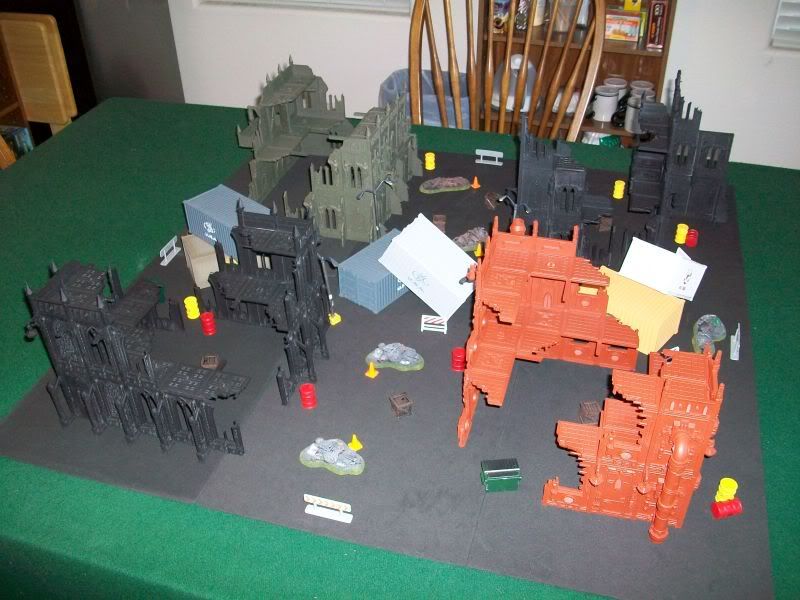
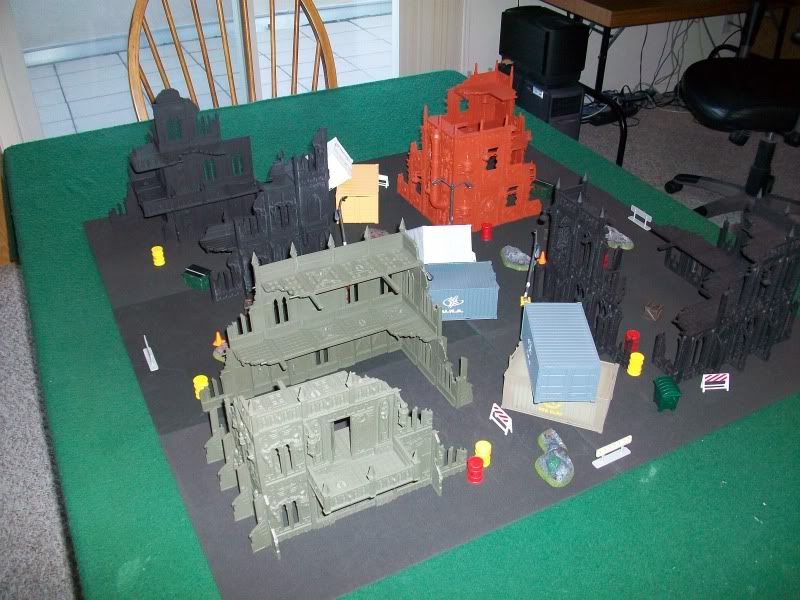
The board consisted of some 40k terrain (in the process of painting them), AT-43 containers and other terrain pieces from various sources.
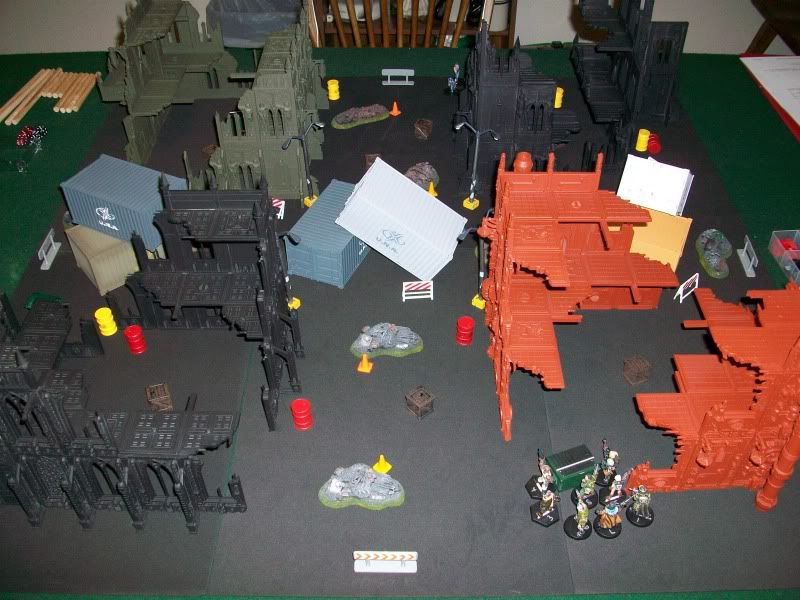
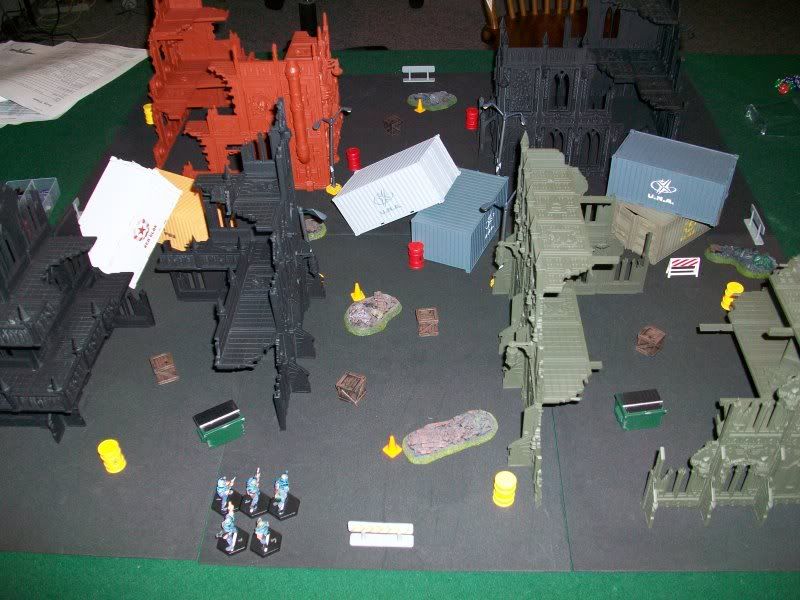
We rolled for attacker and defender. I won and chose to be defender and setup first. SWLion setup second. We both started with all of our warbands close together (need that Leader bonus!!):
Turn 1: Both of warbands move forward and attempt to get in position but the gangers fail to activate too many figures due to some overzealous use of activation dice (sometimes using less is more ).
).
Turn 2: Gangers still have issues with Quality control and fail to move many figures. The Quality issues rub off on the SWAT team also.
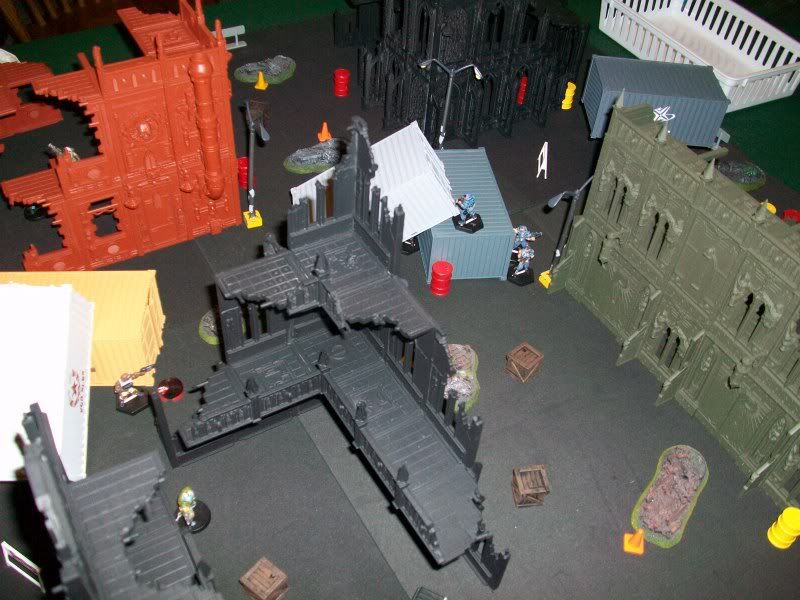
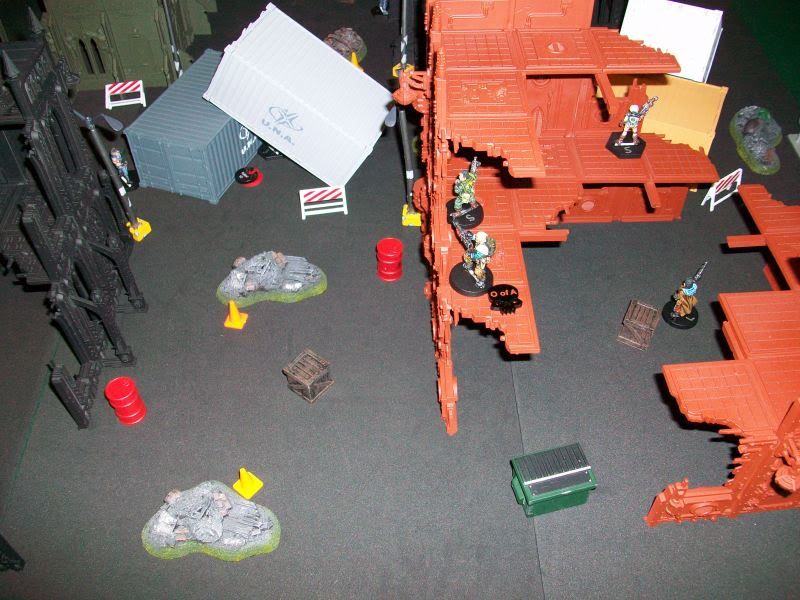
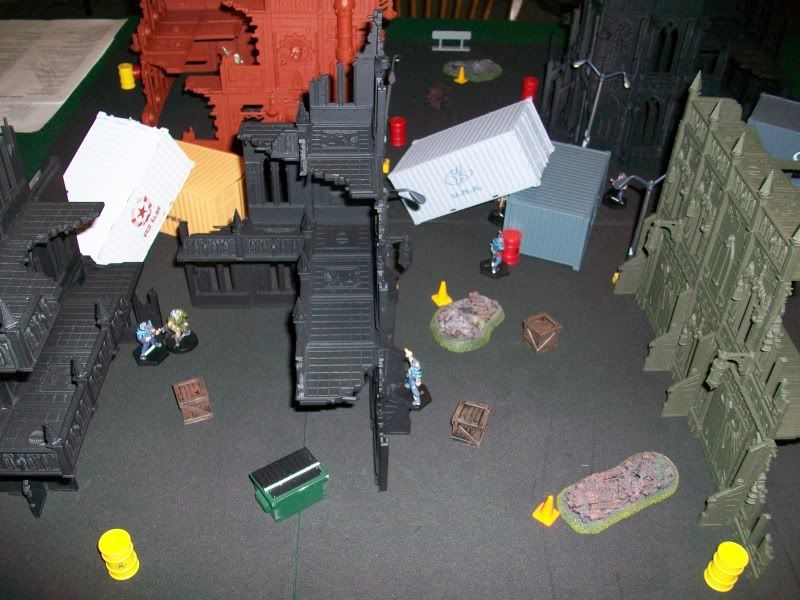
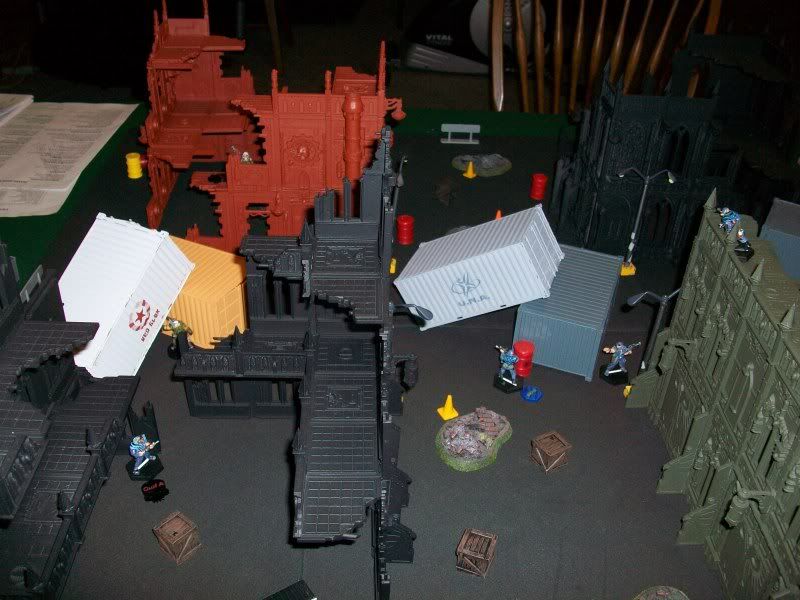
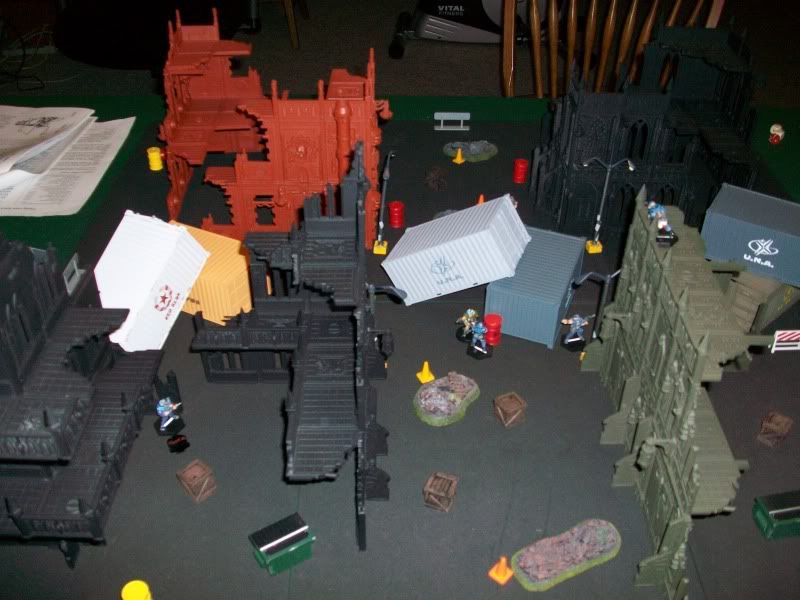
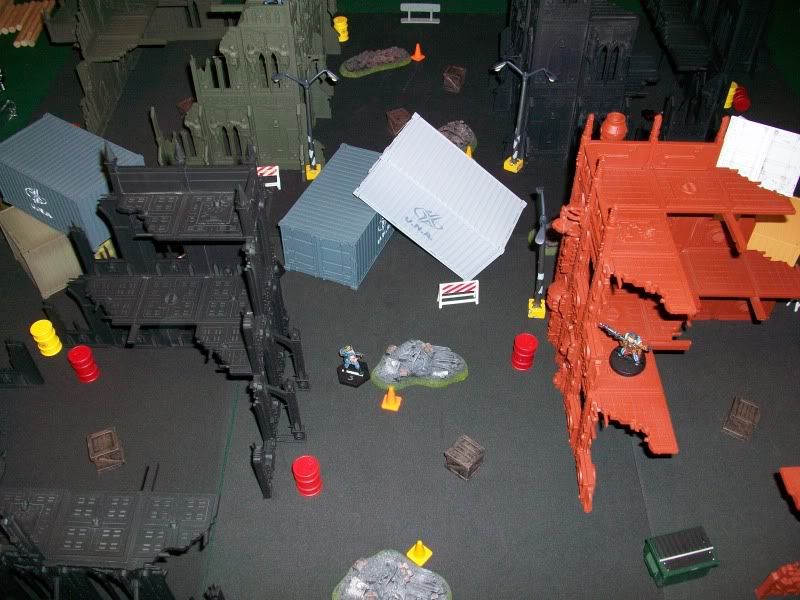
Turn 3: The Gangers decide its time to move out and get some of their longer ranged units up on the buildings (we allowed an action to get up to the next level as long as the figure was under or near a landing area on the next level). The SWAT members take to the center of the board using the shipping containers as cover.
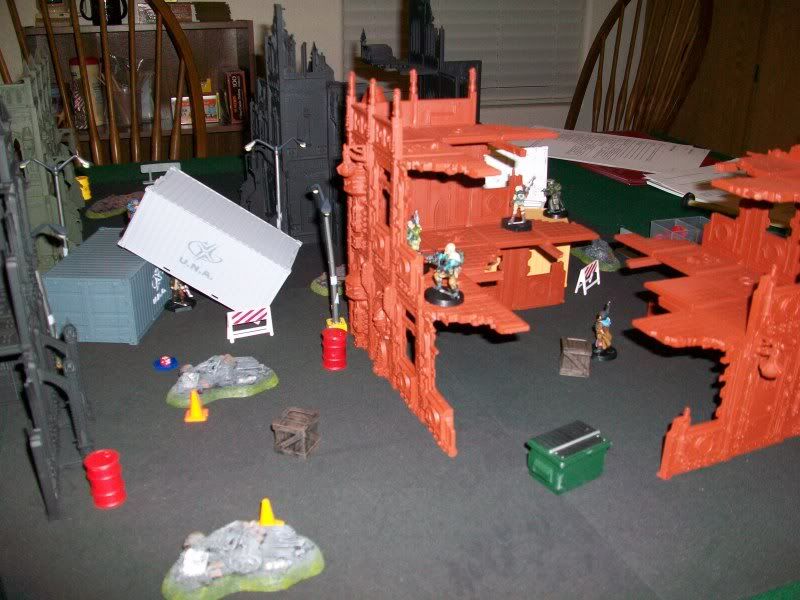
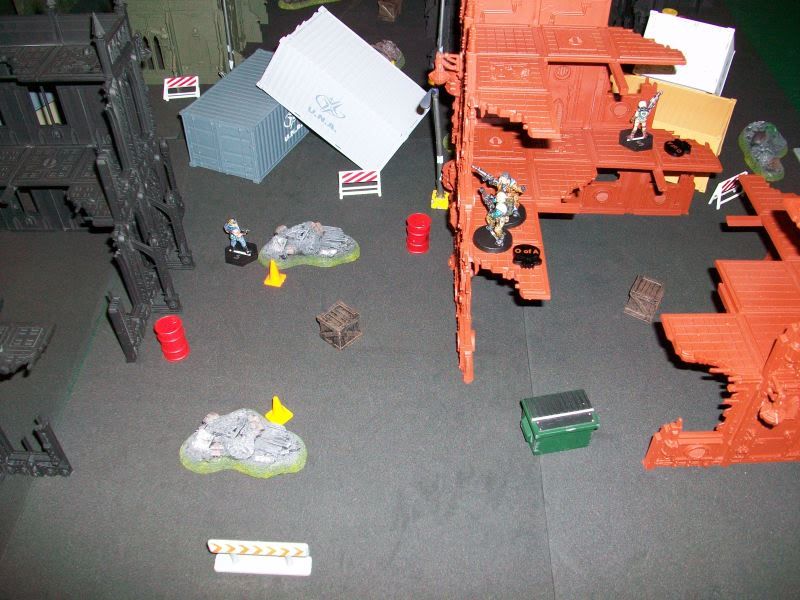
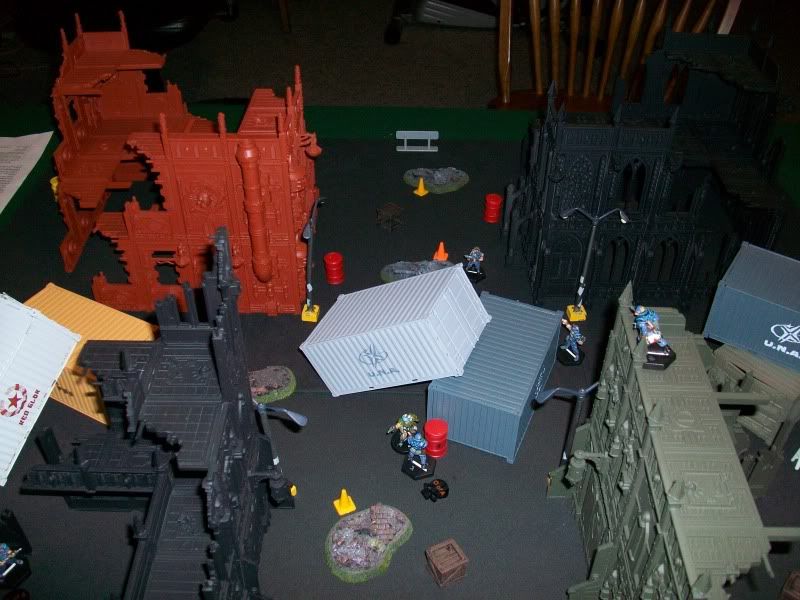
Turn 4: The gangers get into better position on the second level of the building while a few of the close combat gangers move closer to the right center of the board using the containers as cover. The SWAT team moves around trying to find firing positions and Mitchell is out on the far left flank waiting to be activated (he doesn't see the three gangers closing in on his position):

Turn 5: The LMG and sub-leader gangers setup some overwatch on the most likely areas where the SWAT members might appear. The Ganger sniper (Naomi) takes a shot at the SWAT leader from an Ambush position but fails to do anything (rolling a '1'....my curse throughout the game at least she didn't have a weapon malfunction). The forward gangers get a group command from the Leader and move out. The CBQ expert (Shiv) engages Mitchell but fails to land a blow. One of the other gangers gets to the middle of the board under the container and the last forward ganger tries to hit the SWAT member that is up on the middle container to no avail. The SWAT Leader thinks it's best to find some cover now that he knows where the sniper is located. Mitchell tries to attack Shiv but they are both experts in mediocrity and fail to do anything. The SWAT on top of the containers returns fire on the ganger who shot him and shakes up the ganger but grazing his arm. One SWAT member makes a break to get inside a building drawing an overwatch shot from the LMG carrier. The shot goes wild.
Turn 6: Not much happens as Shiv and Mitchell continue to reek of lameness. A ganger crawls up on a container and tries to shoot at the center SWAT member again but fails to hit (short ranged weapon). The same ganger gets OoA because he was too far forward and standing in the open on top of the container by the SWAT member he fired at.
Turn 7: Mitchell and Shiv continue their snuggling...errr combat. Ineffective firing by the gangers but a SWAT member gets a good shot on the Ganger LMG carrier putting him OoA.
Turn 8: Shiv finally manages to get Mitchell Knocked down (in Mitchells combat phase). The ganger under the center container is shaken from a shot from the center SWAT member. The Ganger sub-leader is KIA from a shot from SWAT member on the other building. The ganger leader attempts to close with the LMG ganger to hopefully medicate him back to usefulness. The center ganger under the container is put into OoA (I should have rolled leadership tests at this point but we both forgot).
Turn 9: Shiv finally puts Mitchell into intensive care. Naomi takes a shot at the center SWAT member and causes him to be shaken. SWAT Sgt. moves forward to take a shot at the Gang leader while yelling "Let's end this!!" He fails to hurt the ganger leader. The shaken SWAT member recovers but is still prone. Naomi gets OoA'd by a shot from the SWAT member in the building across the street. I realized this put the Gangers way under half and they should have tested last turn so I run through the tests now. The Leader passes and Shiv fails once and he runs back toward the cover of the right center container area.
Turn 10: The Ganger leader takes an aimed shot at the SWAT Sgt. and wings him which causes the Sgt. to become Shaken. Shiv engages the middle SWAT member. Sgt. fails to recover and the other SWAT members do very little but watch in horror as Shiv prepares to put another notch on his blade handle.
Turn 11: Shiv takes out the middle SWAT member (OoA). The SWAT Sgt. recovers. Shiv is fired upon by the SWAT member up in the building but the shot goes wild.
Turn 12: Shiv moves forward, Aims and shakes the SWAT Sgt. The Ganger leader puts the SWAT Sgt. down for the count. This causes the SWAT team to test. The SWAT leader passes and the SWAT member in the building fails once. SWAT member in the building moves foward back into position and takes a shot at Shiv and forces Shive to move back into cover. The SWAT Leader tries to shoot the Ganger leader but doesn't connect.
Sirens in the distance warn the remaining Gangers that they will be surrounded very soon so they decide to practice the better part of valous and skeedaddle. This leaves the SWAT team in control of the field and winning the game by VPs (and the good guy clause).
Afterthoughts: FL uses the same basic rules as SBH but plays a lot different. I was pushing my activations way too much and ended up having several figures not activating at all for a few turns. I also stretched out a few of my figures a bit too far but I should have just ramped back the activation attempts on them. There are more combat modifiers in FL and once we get used to them, games should go a lot quicker. Ranged combat is dangerous (recovery from being Shaken is a lot worse than being Knocked Down) and Assault Rifles are awesome (just ask SWLion).
Hope you enjoyed the BatRep!
Once the transport had left the station, he started the briefing. "Reports have a 7 to 8 man, heavily armed gang moving through the area of the warehouse district that is being rennovated. We are not sure of their motives but word on the street is that they are trying to discourage anyone else from moving into their self-proclaimed turf. We've been attempting to track down weapons that were recently sold by some black market dealers and it looks like we have found out were they ended up. These perps are considered armed and dangerous. We will be using strike plan gamma. Lock and load, people! Time to put some of that expensive training to good use!"
SWLion and I played a 500 point game of FL using a SWAT team versus heavily armed Gangers. This was our first serious game of FL so we probably missed a few rules and we realized that the game does play a lot different than SBH (rules are similar but tactics are a lot different).
The board was setup prior to the game and we rolled off to see which side we were going to play. I won and decided to use the Perps.
Board setup:
The board consisted of some 40k terrain (in the process of painting them), AT-43 containers and other terrain pieces from various sources.
We rolled for attacker and defender. I won and chose to be defender and setup first. SWLion setup second. We both started with all of our warbands close together (need that Leader bonus!!):
Turn 1: Both of warbands move forward and attempt to get in position but the gangers fail to activate too many figures due to some overzealous use of activation dice (sometimes using less is more
 ).
).Turn 2: Gangers still have issues with Quality control
 and fail to move many figures. The Quality issues rub off on the SWAT team also.
Turn 3: The Gangers decide its time to move out and get some of their longer ranged units up on the buildings (we allowed an action to get up to the next level as long as the figure was under or near a landing area on the next level). The SWAT members take to the center of the board using the shipping containers as cover.
Turn 4: The gangers get into better position on the second level of the building while a few of the close combat gangers move closer to the right center of the board using the containers as cover. The SWAT team moves around trying to find firing positions and Mitchell is out on the far left flank waiting to be activated (he doesn't see the three gangers closing in on his position):
Turn 5: The LMG and sub-leader gangers setup some overwatch on the most likely areas where the SWAT members might appear. The Ganger sniper (Naomi) takes a shot at the SWAT leader from an Ambush position but fails to do anything (rolling a '1'....my curse throughout the game at least she didn't have a weapon malfunction). The forward gangers get a group command from the Leader and move out. The CBQ expert (Shiv) engages Mitchell but fails to land a blow. One of the other gangers gets to the middle of the board under the container and the last forward ganger tries to hit the SWAT member that is up on the middle container to no avail. The SWAT Leader thinks it's best to find some cover now that he knows where the sniper is located. Mitchell tries to attack Shiv but they are both experts in mediocrity and fail to do anything. The SWAT on top of the containers returns fire on the ganger who shot him and shakes up the ganger but grazing his arm. One SWAT member makes a break to get inside a building drawing an overwatch shot from the LMG carrier. The shot goes wild.
Turn 6: Not much happens as Shiv and Mitchell continue to reek of lameness. A ganger crawls up on a container and tries to shoot at the center SWAT member again but fails to hit (short ranged weapon). The same ganger gets OoA because he was too far forward and standing in the open on top of the container by the SWAT member he fired at.
Turn 7: Mitchell and Shiv continue their snuggling...errr combat. Ineffective firing by the gangers but a SWAT member gets a good shot on the Ganger LMG carrier putting him OoA.
Turn 8: Shiv finally manages to get Mitchell Knocked down (in Mitchells combat phase). The ganger under the center container is shaken from a shot from the center SWAT member. The Ganger sub-leader is KIA from a shot from SWAT member on the other building. The ganger leader attempts to close with the LMG ganger to hopefully medicate him back to usefulness. The center ganger under the container is put into OoA (I should have rolled leadership tests at this point but we both forgot).
Turn 9: Shiv finally puts Mitchell into intensive care. Naomi takes a shot at the center SWAT member and causes him to be shaken. SWAT Sgt. moves forward to take a shot at the Gang leader while yelling "Let's end this!!" He fails to hurt the ganger leader. The shaken SWAT member recovers but is still prone. Naomi gets OoA'd by a shot from the SWAT member in the building across the street. I realized this put the Gangers way under half and they should have tested last turn so I run through the tests now. The Leader passes and Shiv fails once and he runs back toward the cover of the right center container area.
Turn 10: The Ganger leader takes an aimed shot at the SWAT Sgt. and wings him which causes the Sgt. to become Shaken. Shiv engages the middle SWAT member. Sgt. fails to recover and the other SWAT members do very little but watch in horror as Shiv prepares to put another notch on his blade handle.
Turn 11: Shiv takes out the middle SWAT member (OoA). The SWAT Sgt. recovers. Shiv is fired upon by the SWAT member up in the building but the shot goes wild.
Turn 12: Shiv moves forward, Aims and shakes the SWAT Sgt. The Ganger leader puts the SWAT Sgt. down for the count. This causes the SWAT team to test. The SWAT leader passes and the SWAT member in the building fails once. SWAT member in the building moves foward back into position and takes a shot at Shiv and forces Shive to move back into cover. The SWAT Leader tries to shoot the Ganger leader but doesn't connect.
Sirens in the distance warn the remaining Gangers that they will be surrounded very soon so they decide to practice the better part of valous and skeedaddle. This leaves the SWAT team in control of the field and winning the game by VPs (and the good guy clause).
Afterthoughts: FL uses the same basic rules as SBH but plays a lot different. I was pushing my activations way too much and ended up having several figures not activating at all for a few turns. I also stretched out a few of my figures a bit too far but I should have just ramped back the activation attempts on them. There are more combat modifiers in FL and once we get used to them, games should go a lot quicker. Ranged combat is dangerous (recovery from being Shaken is a lot worse than being Knocked Down) and Assault Rifles are awesome (just ask SWLion).
Hope you enjoyed the BatRep!

